SDCPRINTS.COM
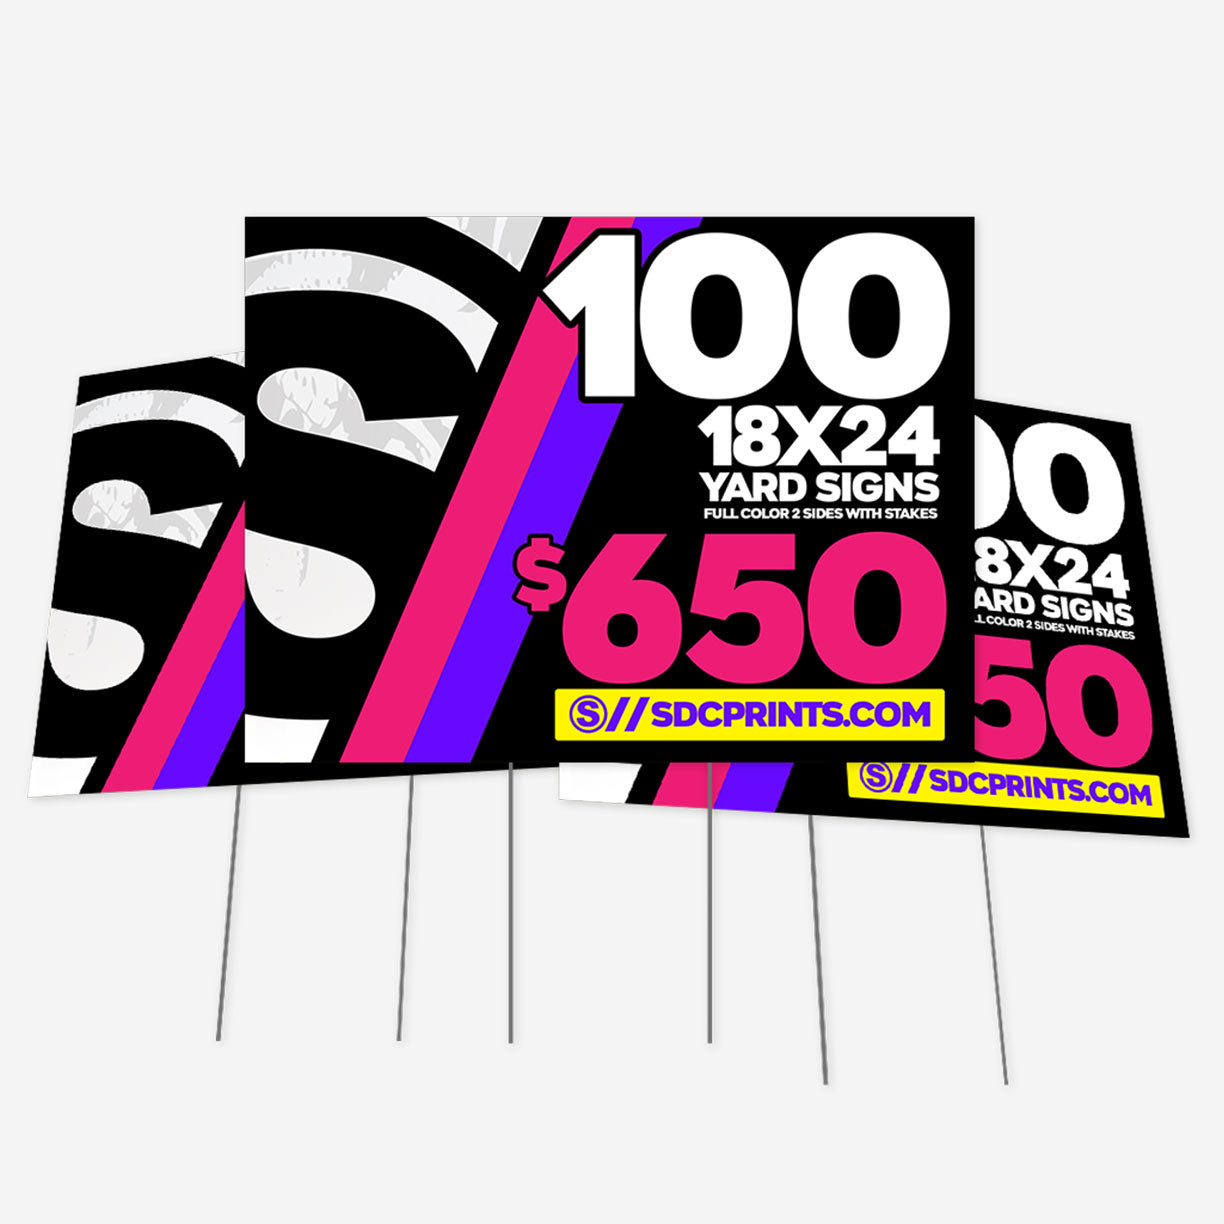
100 24x18 Coroplast Yard Signs Full Color 2 Sides
100 24x18 Coroplast Yard Signs Full Color 2 Sides
Welcome to SDCPRINTS.COM, your go-to destination for impactful and customizable marketing solutions! Introducing our Custom Printed Coroplast Yard Signs – the ultimate way to showcase your logo or message with style and efficiency. Designed for maximum visibility and durability, these signs are the perfect choice for promoting your brand, event, or special message.
Key Features:
-
Double-Sided Impact: Make your message impossible to miss with our double-sided 24x18 coroplast yard signs. Each kit includes custom printing on both sides, ensuring your advertisement is visible from all angles. This means double the exposure and double the impact for your brand or event.
-
High-Quality Printing: We believe in the power of vivid visuals. Our yard signs are digitally printed at high resolution, featuring full bleed with no white border. This attention to detail guarantees sharp and eye-catching graphics that leave a lasting impression on anyone who sees them.
-
Easy Setup: Setting up your yard sign is hassle-free with the optional 15-inch or 24-inch H ground stake. Its sturdy construction ensures your sign stands tall and firm, even in windy conditions. Installation is quick and straightforward, allowing you to focus on what matters – your message.
-
Swift Production: We understand the urgency of your marketing needs. Our Custom Printed Coroplast Yard Signs come with a lightning-fast 3-day production period. Within days, you'll have professionally printed, double-sided signs ready to boost your visibility and engage your audience.
-
Durable and Weather-Resistant: Crafted from high-quality 4m coroplast material, our signs are built to withstand the elements. Rain or shine, your message remains vibrant and attention-grabbing, ensuring your advertising efforts are not hampered by weather conditions.
-
Versatile Applications: Perfect for political campaigns, real estate promotions, event advertising, and more, our custom yard signs are incredibly versatile. Whatever your message, these signs deliver it with impact and professionalism, making them an essential tool for your marketing arsenal.
Maximize your brand's exposure with our Custom Printed Coroplast Yard Signs. Whether you're promoting a business, an event, or a cause, these signs are your key to making a memorable impression. Don't miss out on this opportunity to elevate your visibility and leave a lasting mark. Order now at SDCPRINTS.COM and experience the power of personalized outdoor advertising that sets your message apart and drives traffic to your cause.
Couldn't load pickup availability
Share